Lets once again learn something which really helpful in graphic design and web design. Here I am with some good stuff to teach you how to make vista like button whith the help of photoshop. It is very simple and you can make vista like button with 10 simple steps, here I guess that you have basic knowledge of ph0toshop and it’s tools. So lets start.
step1: Take new document with black background and 150 pixel width and 50 pixel height.
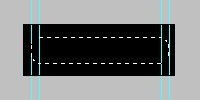
step2: Take a Rounded Ractangle Tool and draw shape shown in the image below after putting guide both the side.
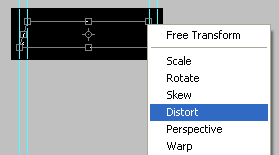
tep3: From select menu select Transform Selection and transform it as shown in below image after selecting Distort from Quad Menu.
step4: After applying transform to it fill #171717 color in it.
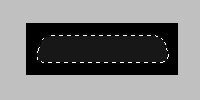
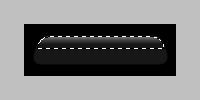
step5: Press Cltr+Click on layer and select the shape, Go to select > modify > contract. Put value 1 in the dialogue box open. Then after press alt+select and remove half of the selection as shown in below image.
step6: Select linear gradient one side color of gradient is same as you fill in the shape i.e. # 171717, and another side gradient color is #6b6b6b, and fill this gradient carefully. Which gives you following output.
step7: Take text layer and write something here i wrote Home. Keep Font - Arial, Size - 12, Stye - Bold, Color - #8e8d8d, You can make your own specifications for text.
step8: Upto this, this is your normal button image, now i am going to show you how to make hover button image. For that make Duplicate layer of text and give it Outer Glow from blending optons and keep glow color is #0c8d91. You’ll get following result.
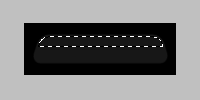
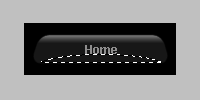
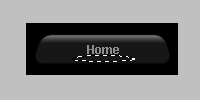
step9: Now make selection as shown in below first image.and then go to select > feather, set feather value 5. Which resulting image second.
step10: Take linear gradient and set first color same as you fill in the shape i.e. #171717 and another color is as per your choice and as per your layout’s color combination, here i have used #0eb2b8 this color. now fill this gradient color carefully. Now press cltr+Click Main shape layer which shown selection of your main shape now from select menu click on the inverse and then press delete this remove unnecessary part of gradient which you just fill. This resulting in following output.
Here is your vista like button is ready.
Enjoy the miracle of photoshop. Keep visiting and commenting, which helps me to improve my blog.









this is very useful for me. good and i like your this activity......I hope on u create a new post for
ReplyDeleteme............
thanks Jhon, keep visiting I'll always try to give something useful and new related to this field
ReplyDelete